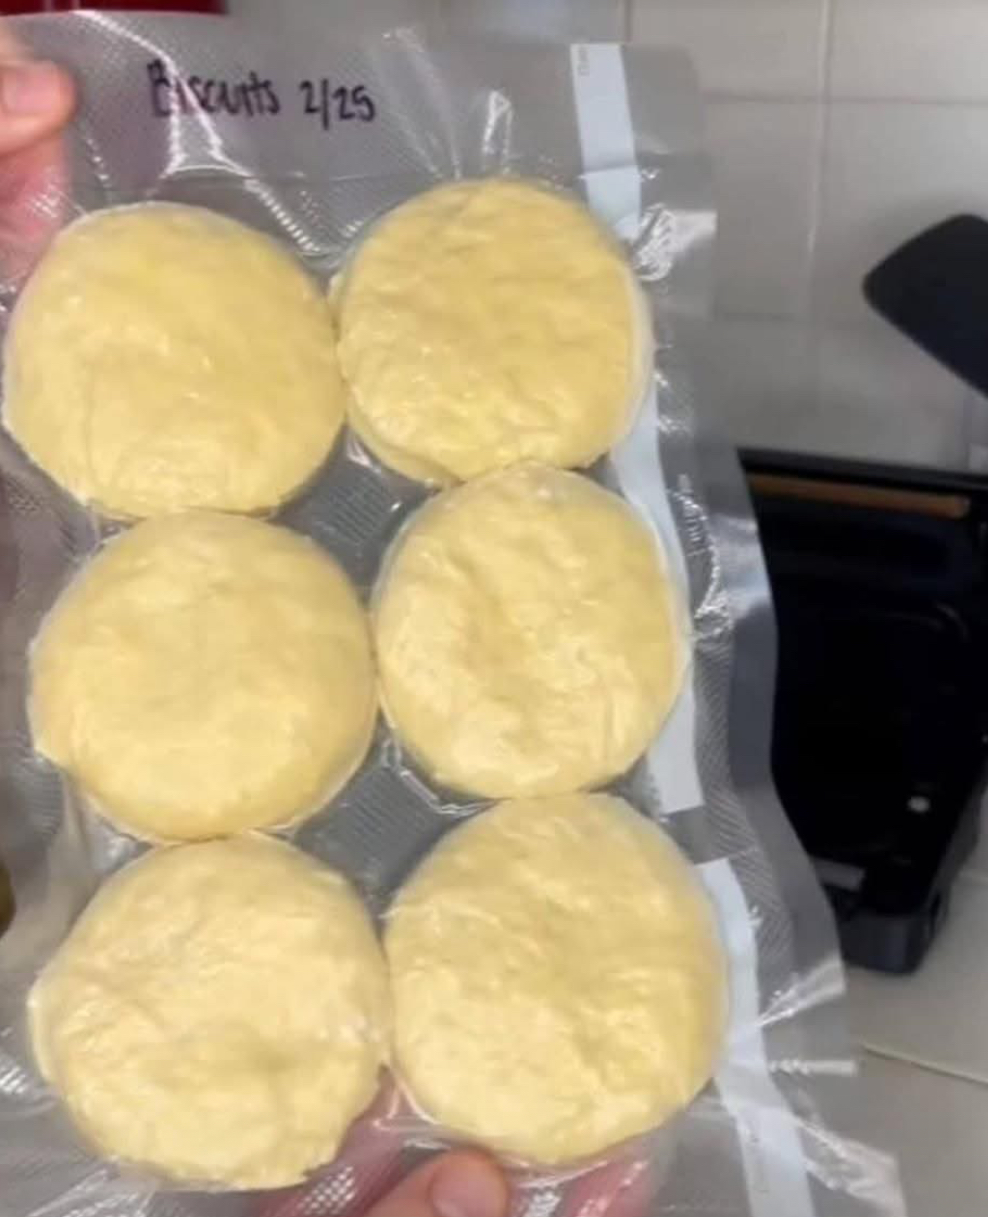
Freezer Biscuits: A Complete Guide
Introduction
Freezer biscuits are a convenient and delicious way to enjoy homemade biscuits anytime. These biscuits are made in advance, stored in the freezer, and baked fresh whenever needed. They are perfect for busy mornings, family gatherings, or unexpected guests. Whether you prefer them with butter, jam, or gravy, freezer biscuits are a versatile and essential addition to any kitchen.
History of Biscuits
Biscuits have a long history dating back to ancient civilizations. The word “biscuit” comes from the Latin “bis coctus,” meaning “twice baked.” In the 19th century, biscuits became a staple in American and European households, with variations ranging from soft, fluffy Southern-style biscuits to crunchy, dry biscuits in Europe. Freezer biscuits emerged as a practical solution for preserving dough and enjoying freshly baked biscuits without the hassle of daily preparation.
Benefits of Freezer Biscuits
• Convenience: Prepare in advance and bake when needed.
• Time-saving: No need to make fresh dough each time.
• Cost-effective: Homemade biscuits are cheaper than store-bought ones.
• Healthier: You control the ingredients, avoiding preservatives.
• Customizable: Can be made with different flours, flavors, and toppings.
Ingredients
To make freezer biscuits, you will need:
Basic Ingredients:
• 3 cups all-purpose flour
• 1 tablespoon baking powder
• 1 teaspoon salt
• 1 teaspoon sugar (optional)
• ½ cup unsalted butter (cold, cubed)
• 1 cup buttermilk or whole milk
Optional Add-ins:
• ½ cup shredded cheese (cheddar, parmesan, etc.)
• 1 tablespoon fresh herbs (rosemary, thyme, etc.)
• ¼ teaspoon garlic powder or onion powder
• ¼ cup cooked bacon bits
Instructions
Step 1: Prepare the Dough
1. In a large mixing bowl, whisk together flour, baking powder, salt, and sugar.
2. Add the cold butter cubes and mix using a pastry cutter or your hands until the mixture resembles coarse crumbs.
3. Slowly pour in the buttermilk, stirring gently until a soft dough forms.
Step 2: Shape the Biscuits
1. Transfer the dough to a floured surface and roll it to about ½-inch thickness.
2. Use a round cutter or glass to cut out biscuits.
3. Place biscuits on a baking sheet lined with parchment paper.
Step 3: Freezing the Biscuits
1. Arrange the cut biscuits on a tray, making sure they don’t touch.
2. Freeze them for 1-2 hours until firm.
3. Transfer the frozen biscuits into a sealed freezer bag or airtight container.
Step 4: Baking the Biscuits
1. Preheat the oven to 425°F (220°C).
2. Place the frozen biscuits on a baking sheet, spacing them apart.
3. Bake for 15-18 minutes or until golden brown.
4. Serve warm with butter, honey, or gravy.
Formation and Variations
• Classic Round Biscuits: Cut with a round cutter.
• Drop Biscuits: Spoon the dough onto the baking sheet without rolling.
• Cheese Biscuits: Add shredded cheese for extra flavor.
• Sweet Biscuits: Mix in cinnamon and sugar for a sweet treat.
Nutritional Information (Per Biscuit)
• Calories: ~180 kcal
• Carbohydrates: 25g
• Protein: 4g
• Fat: 8g
• Fiber: 1g
• Sugar: 1g
Who Loves Freezer Biscuits?
• Busy Parents: A quick breakfast or snack for kids.
• Bakers & Food Enthusiasts: Those who love homemade treats.
• Campers & Travelers: Easy to carry and bake over a campfire.
• Food Businesses: Great for restaurants and bakeries to prepare in bulk.
Conclusion
Freezer biscuits are a perfect solution for those who love fresh, homemade biscuits without the daily effort. They save time, reduce waste, and offer endless customization possibilities. Whether you enjoy them plain, cheesy, or sweet, these biscuits are a must-have in any kitchen. Try making a batch today, and enjoy the comfort of freshly baked biscuits whenever you want!
